Ground Beef Nirvana

Ground beef is a food that can easily be taken for granted. It’s not quite in the boneless, skinless chicken breast of the meat world but it certainly is treated as a blank slate for seasoning, cheese, condiments, and any other number of adulterations.

We wanted a ground beef that would impress. Something that would stand out on its own as beefy, rich, and delicious. First we needed to decide which parts of the cow to use in our grind. A lot of ground beef is trim that is churned up without much thought to the where or why. Our experimenting involved pulling meat from various sections of the animal and seeing which ones cooked up most delicious.

There is a noticeable flavor difference in beef from the different sections of the animal. In the end we decided that a majority ground chuck was perfect for our everyday grind and that a combination of brisket, sirloin, loin, and short ribs was a super impactful blend for our premium grind.

Next we knew that we would want to offer a coarser grind than most commercially ground beef. This can help keep the fat in and also just has a nicer texture when biting into it a burger. We just like the openness of the coarse grind and how it avoids an overly chewy bite.

Finally we had to make some decisions on fat content. Fat carries flavor and juiciness so it was clear that a 95/5 or even 85/15 wasn’t going to make the statement we wanted.  Of course we know there are some that still think fat is a bad thing so we couldn’t go completely rogue. That means our Everyday is 80/20  and our Premium is 70/30. Decadence requires decadence.

Certainly we feel our Everyday grind is worthy of your hamburgers–it’s plenty delicious. It’s also the beef for your meatloaf, chili, meatballs, etc. However, we’ve converted scores of our customers to exclusively using our Premium grind for their burgers. It’s a little more of an indulgence but we think it is 100% worth it.

Bought some ground beef from us? We’d love to hear what you think,

The Bone-In Ribeye

There’s something quite primordial about the bone-in steak. Something visceral leaps in our hearts when we see a giant piece of meat attached to a giant bone. You know, something like this:

There’s a reason why rib-eye steaks are a favorite of many of our customers: they’re delicious. Tender, with the perfect amount of fat, these are luxurious steaks that convert non-beef eaters into believers.

Our suggestion is to take one of these big guys (one steak should easily feed two people or more), sear both sides in a hot cast iron pan, and finish in the oven until a perfect medium rare. It really is that easy and a similar experience at a restaurant would easily cost two to three times as much. And, as if you needed more convincing, we source some of the beefiest, humanely raised rib-eye in town.

The Perfect Pork Chop

***this is a special post written by St Paul Meat Shop manager Nick

As a young adult, I tried to make it work with pork chops. After all, pork chops tend to be inexpensive, and they have a proud culinary history. I fancied myself a competent home cook, but the results with the pork chops that I bought at the grocery store were almost always underwhelming. It wasn’t until I started working at the meat shop that I figured things out.

As a new meat monger, I was unaware that there was more than one type of pig. In grocery stores today, most of the pork comes from the same handful of very lean breeds. There are historical factors at play in why commercial pork has gone the way it has, but it’s worth pointing out that when the USDA grades beef for quality and flavor, it is primarily looking at fat content—the more, the better. And the approach favored by most pork producers is the exact opposite—they are looking for the least fat possible, thus leading to pork’s rather dispiriting contemporary moniker: “the other white meat.”

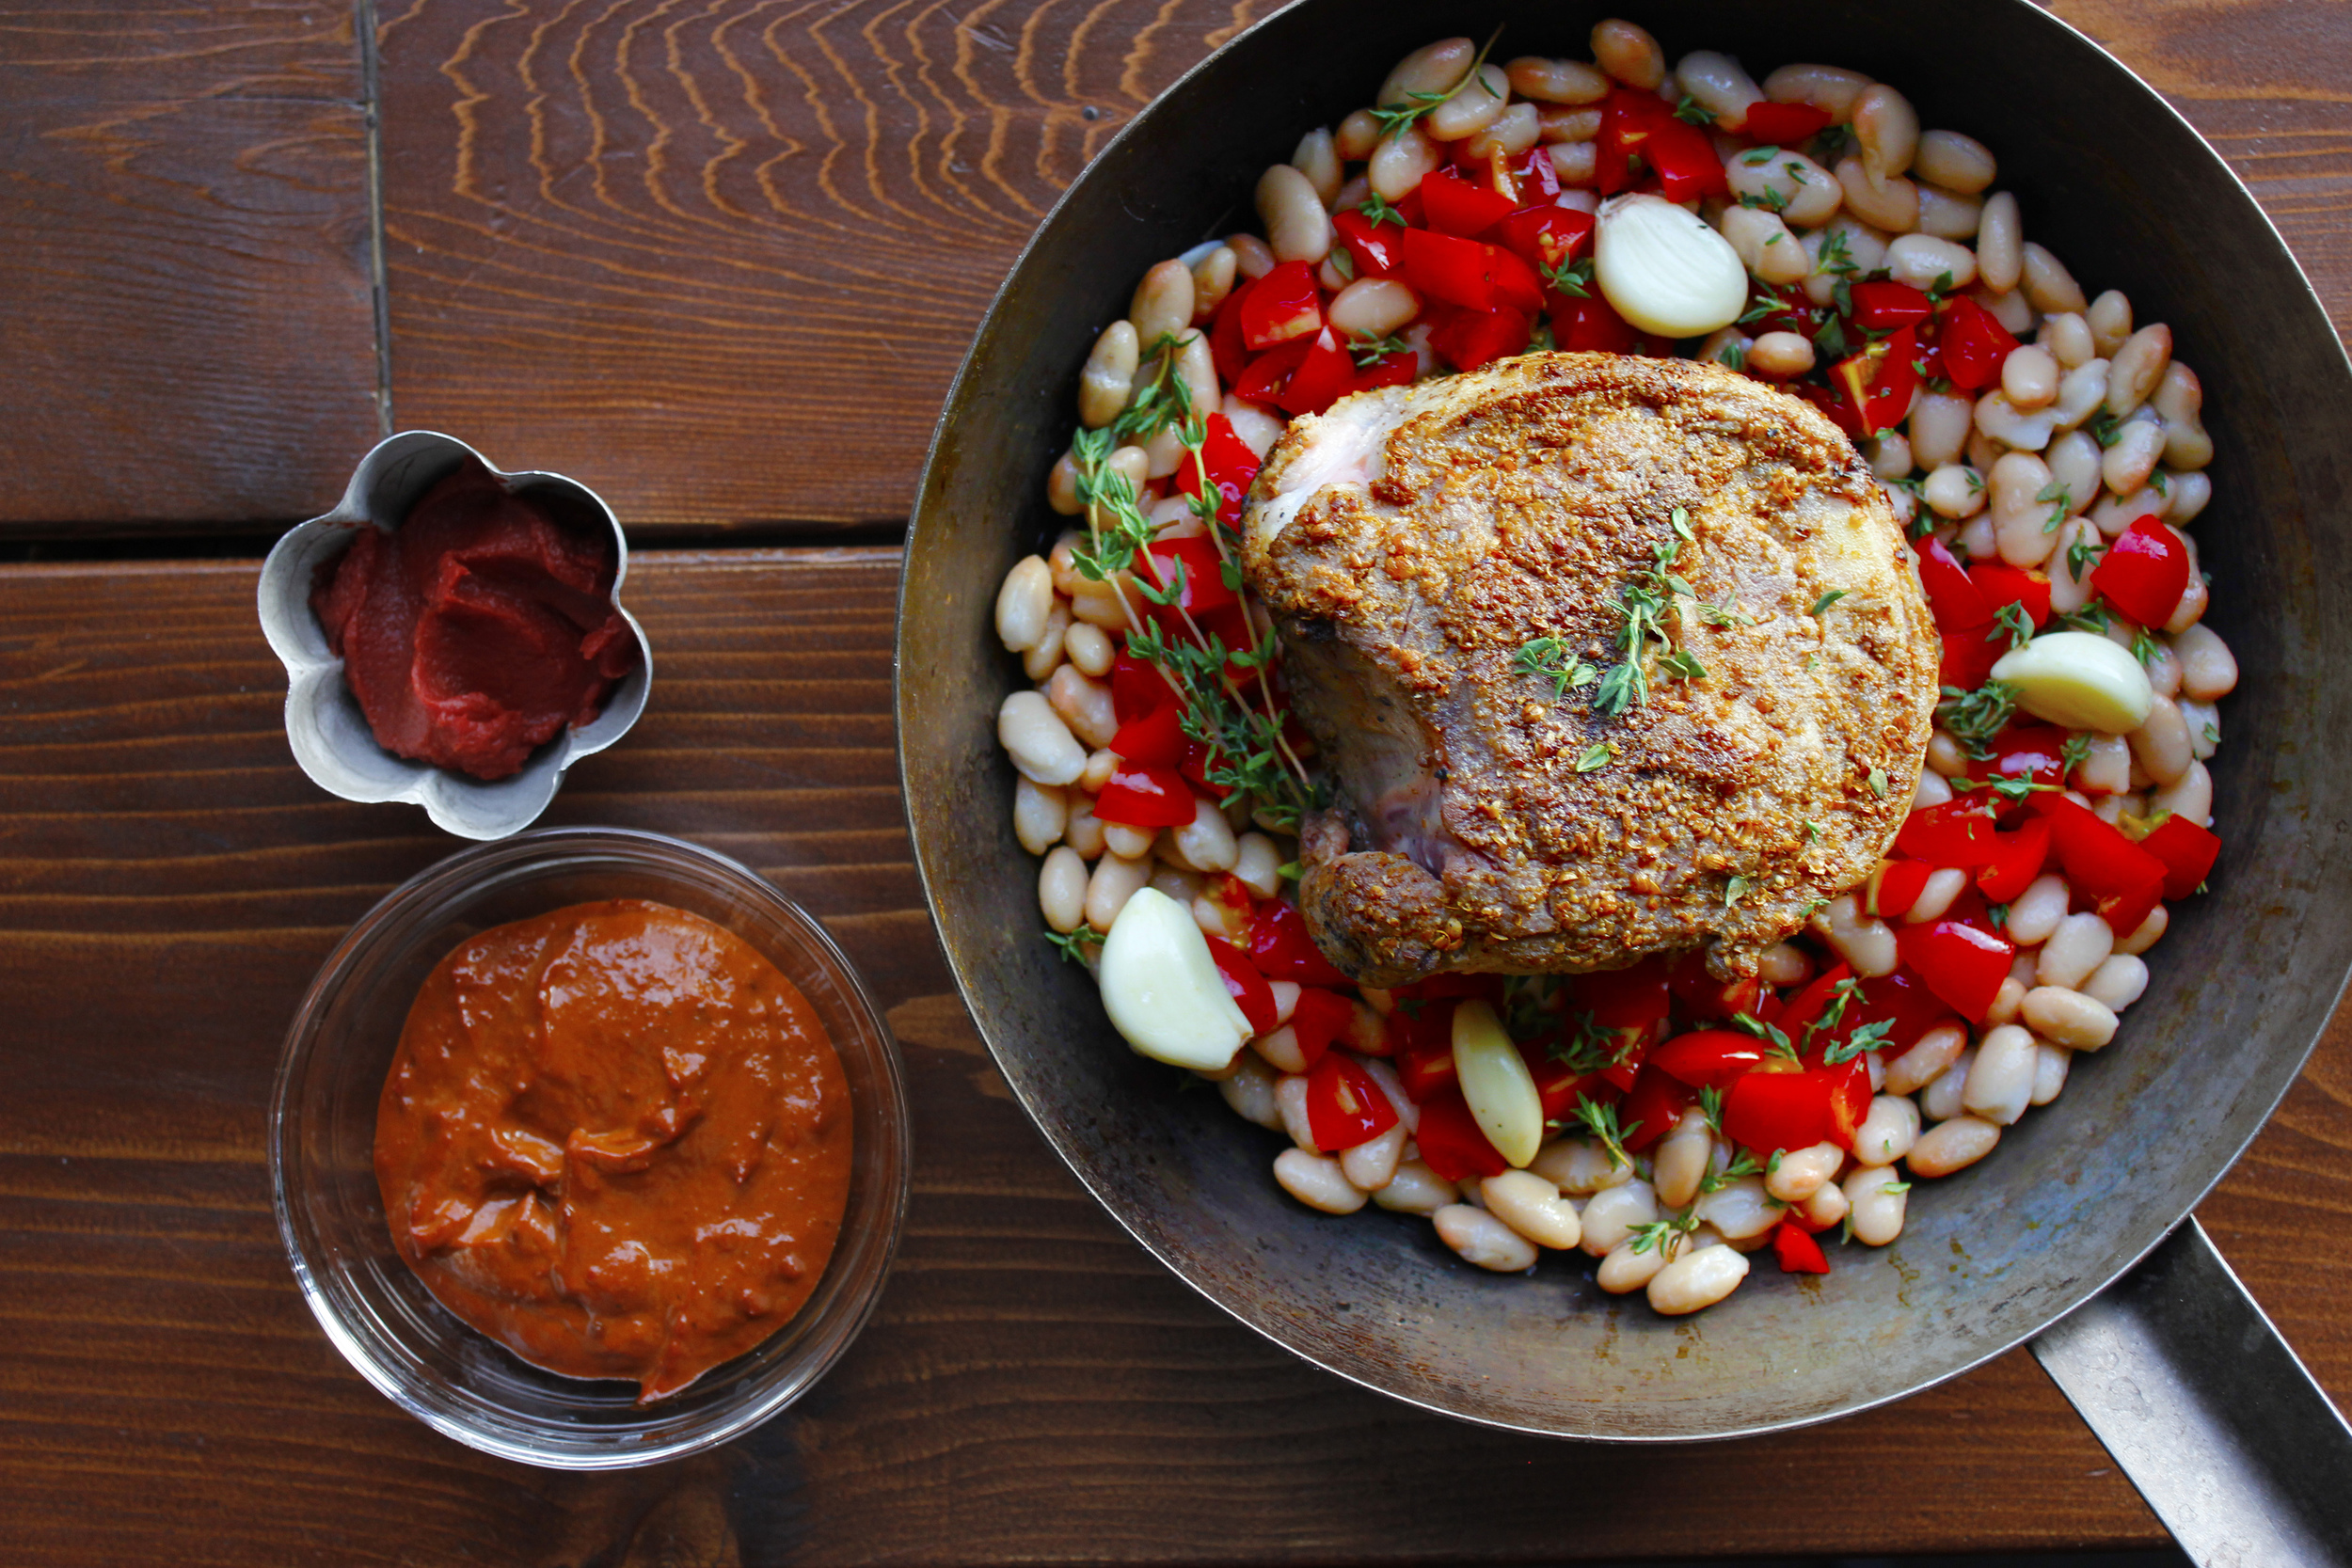
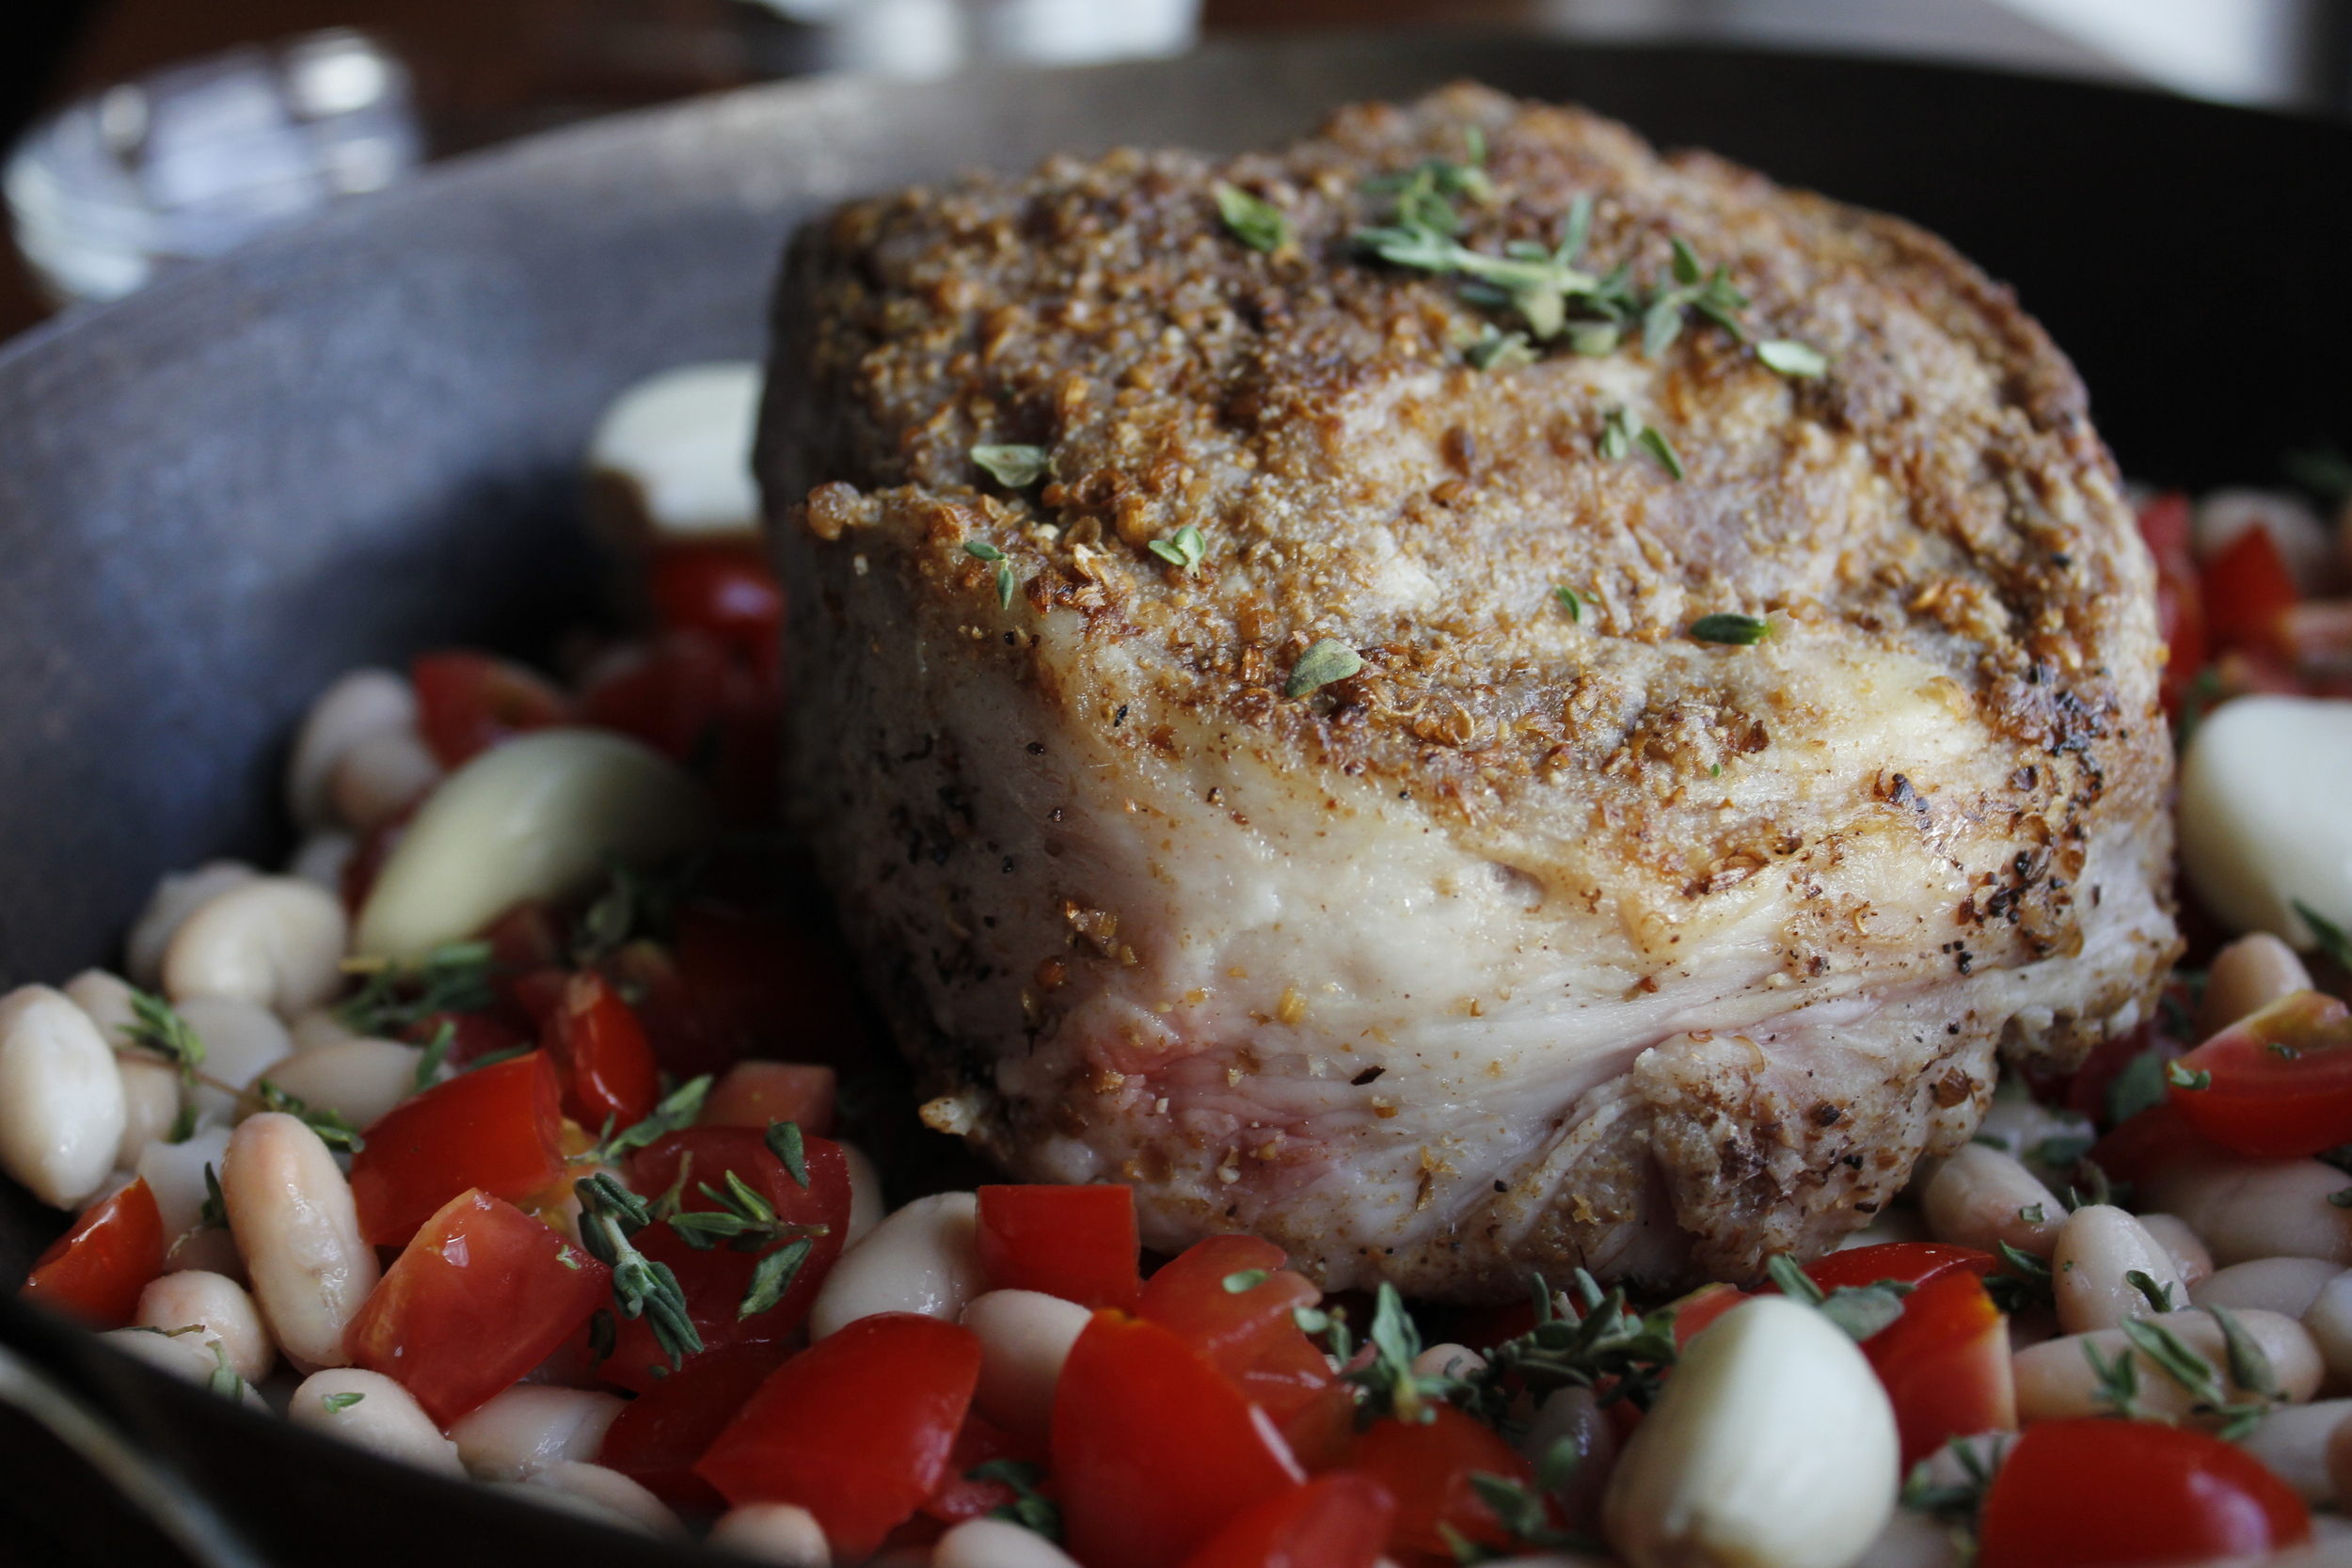
Given the pork industry’s emphasis on leanness and yield, it’s hardly anyone’s fault that the chops they cook at home might be a little uninspiring. Fortunately, there is a world of delicious, different breeds of pig out there, and a handful of committed, enthusiastic farmers who are raising them—and feeding them the right stuff. We’re very proud to carry pigs from Eric Kreidermacher at Pork and Plants. Eric raises a breed known as the Red Wattle. The amount of fat on these animals is almost obscene, but it tastes like buttered popcorn, and the meat itself is luscious, juicy, steaky. It bears about as much resemblance to the pork I grew up eating as a minute steak does to a ribeye.

Learning about why our pork is special, and starting with a better product, period, was going to make a big difference in how my chops turned out. But I also had some things to learn—or rather, unlearn—about how to cook them. Our lead butcher, Scott Filut, had some important tips for me.

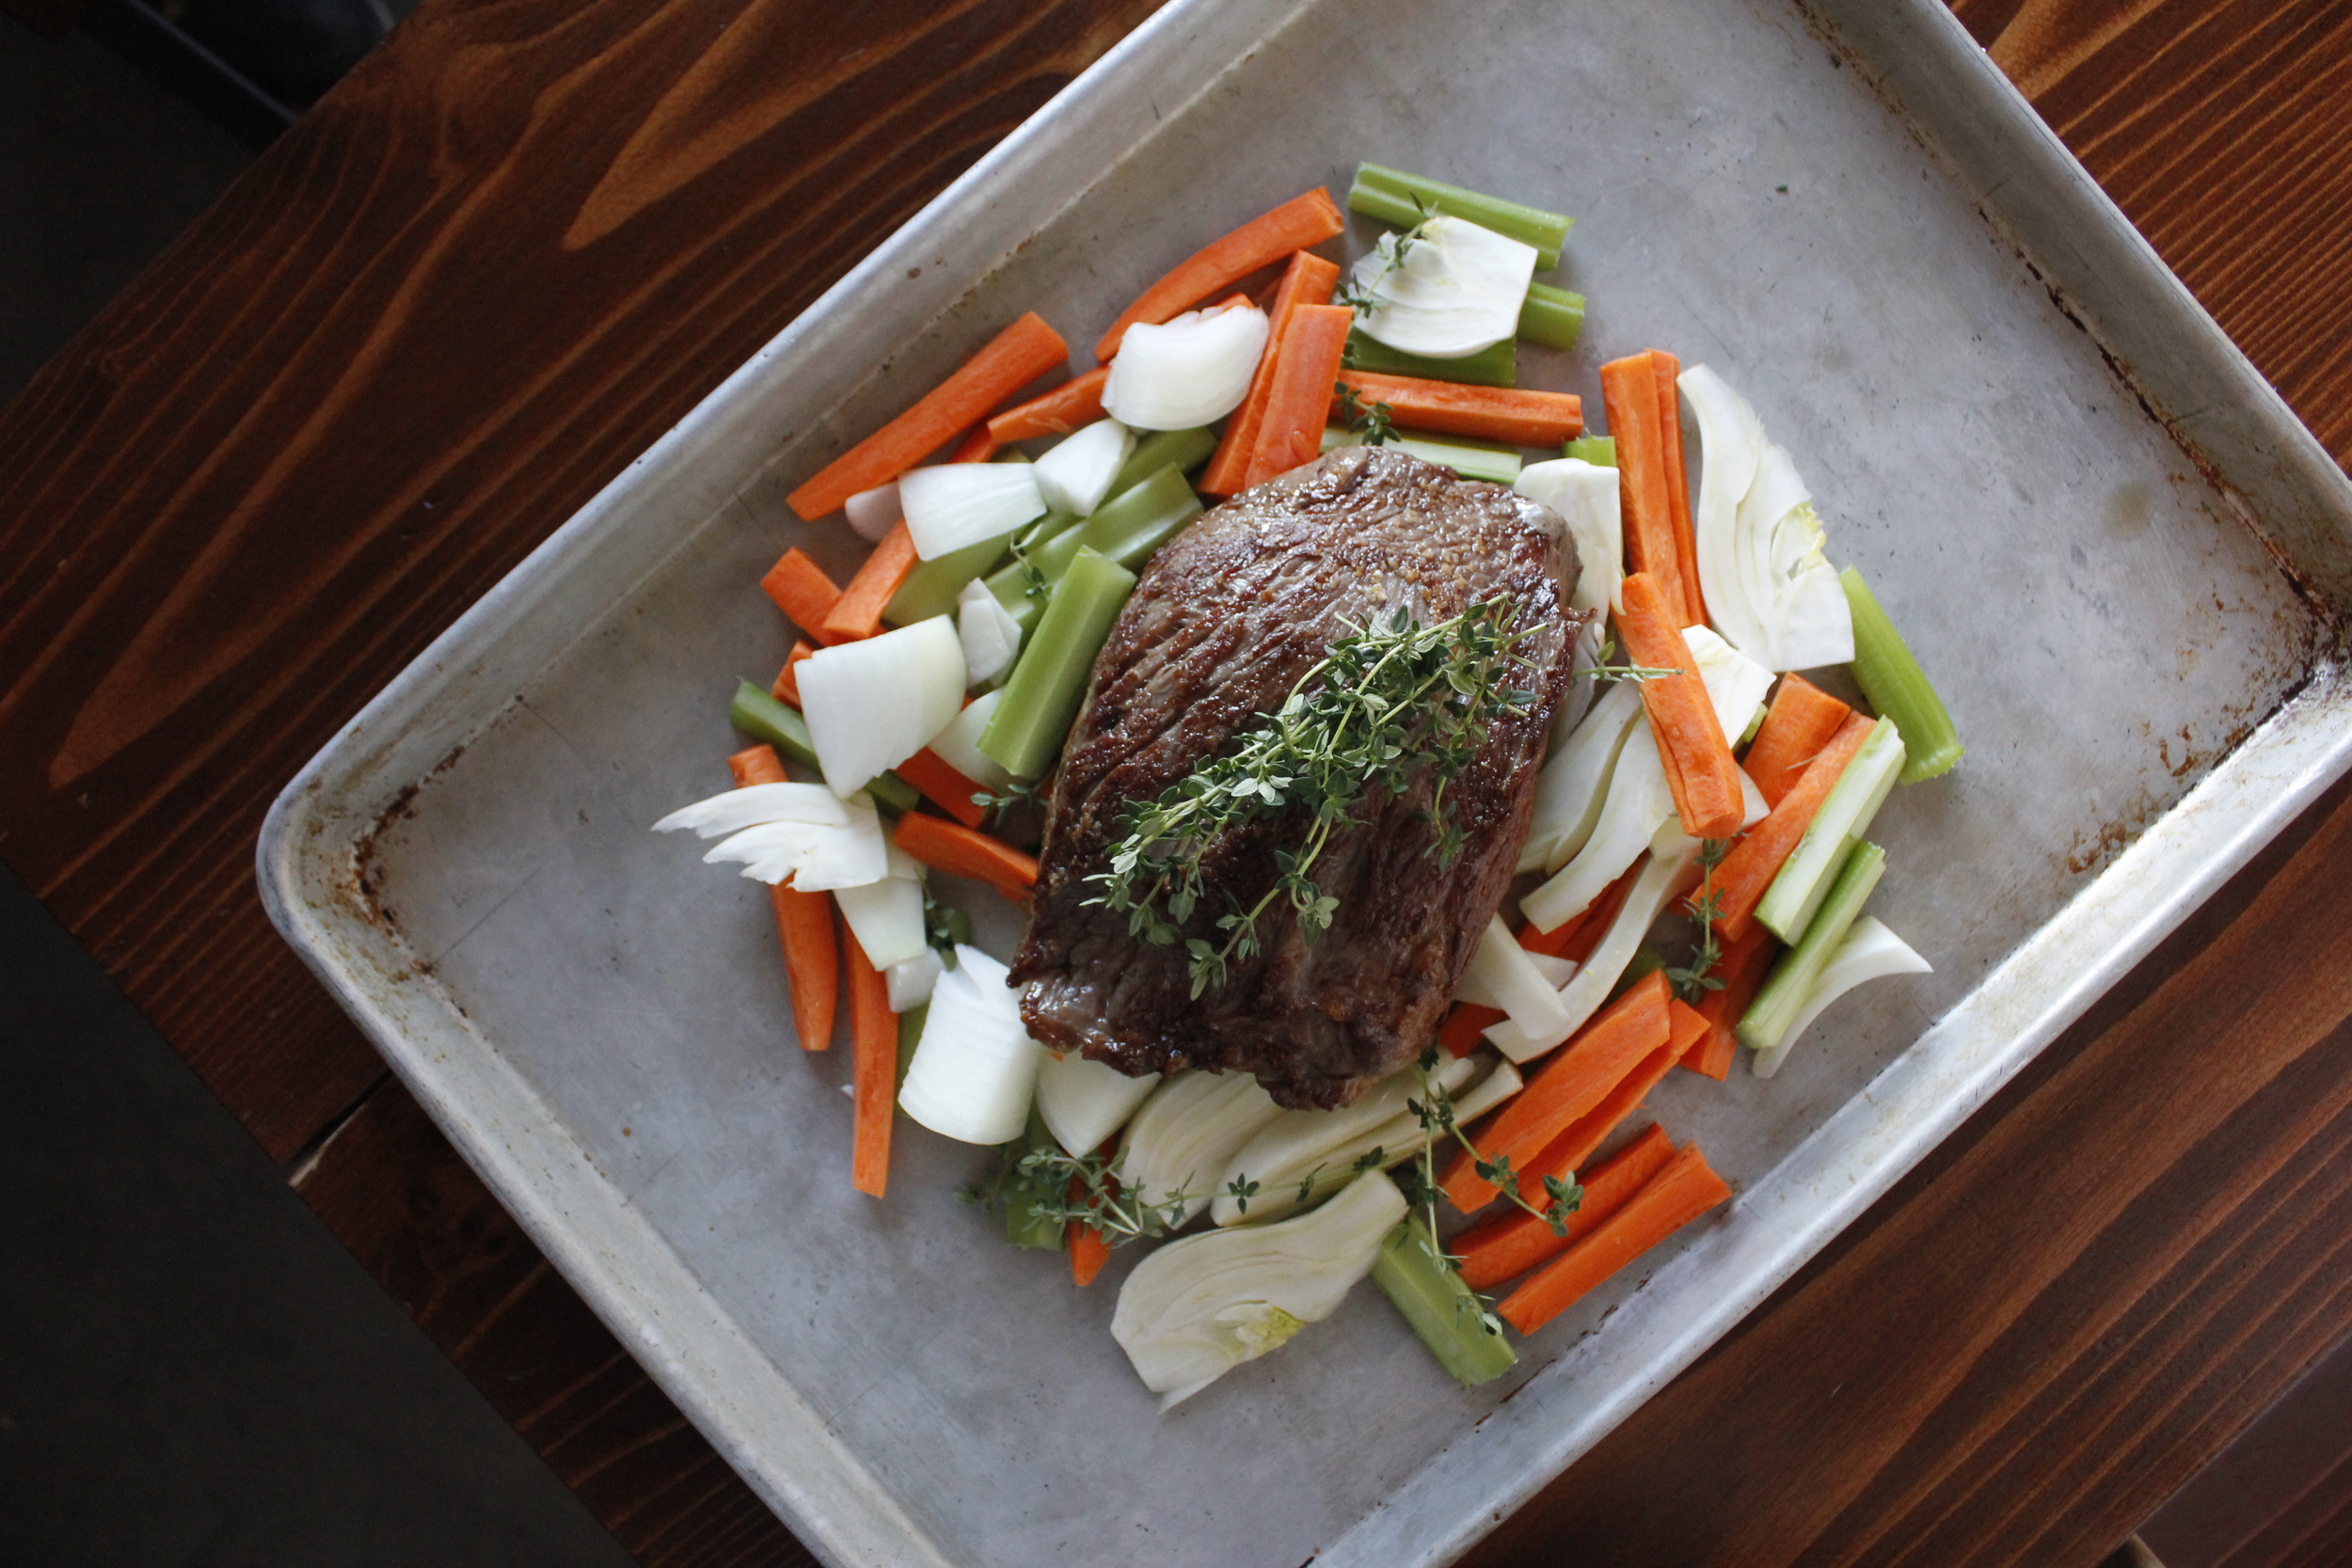
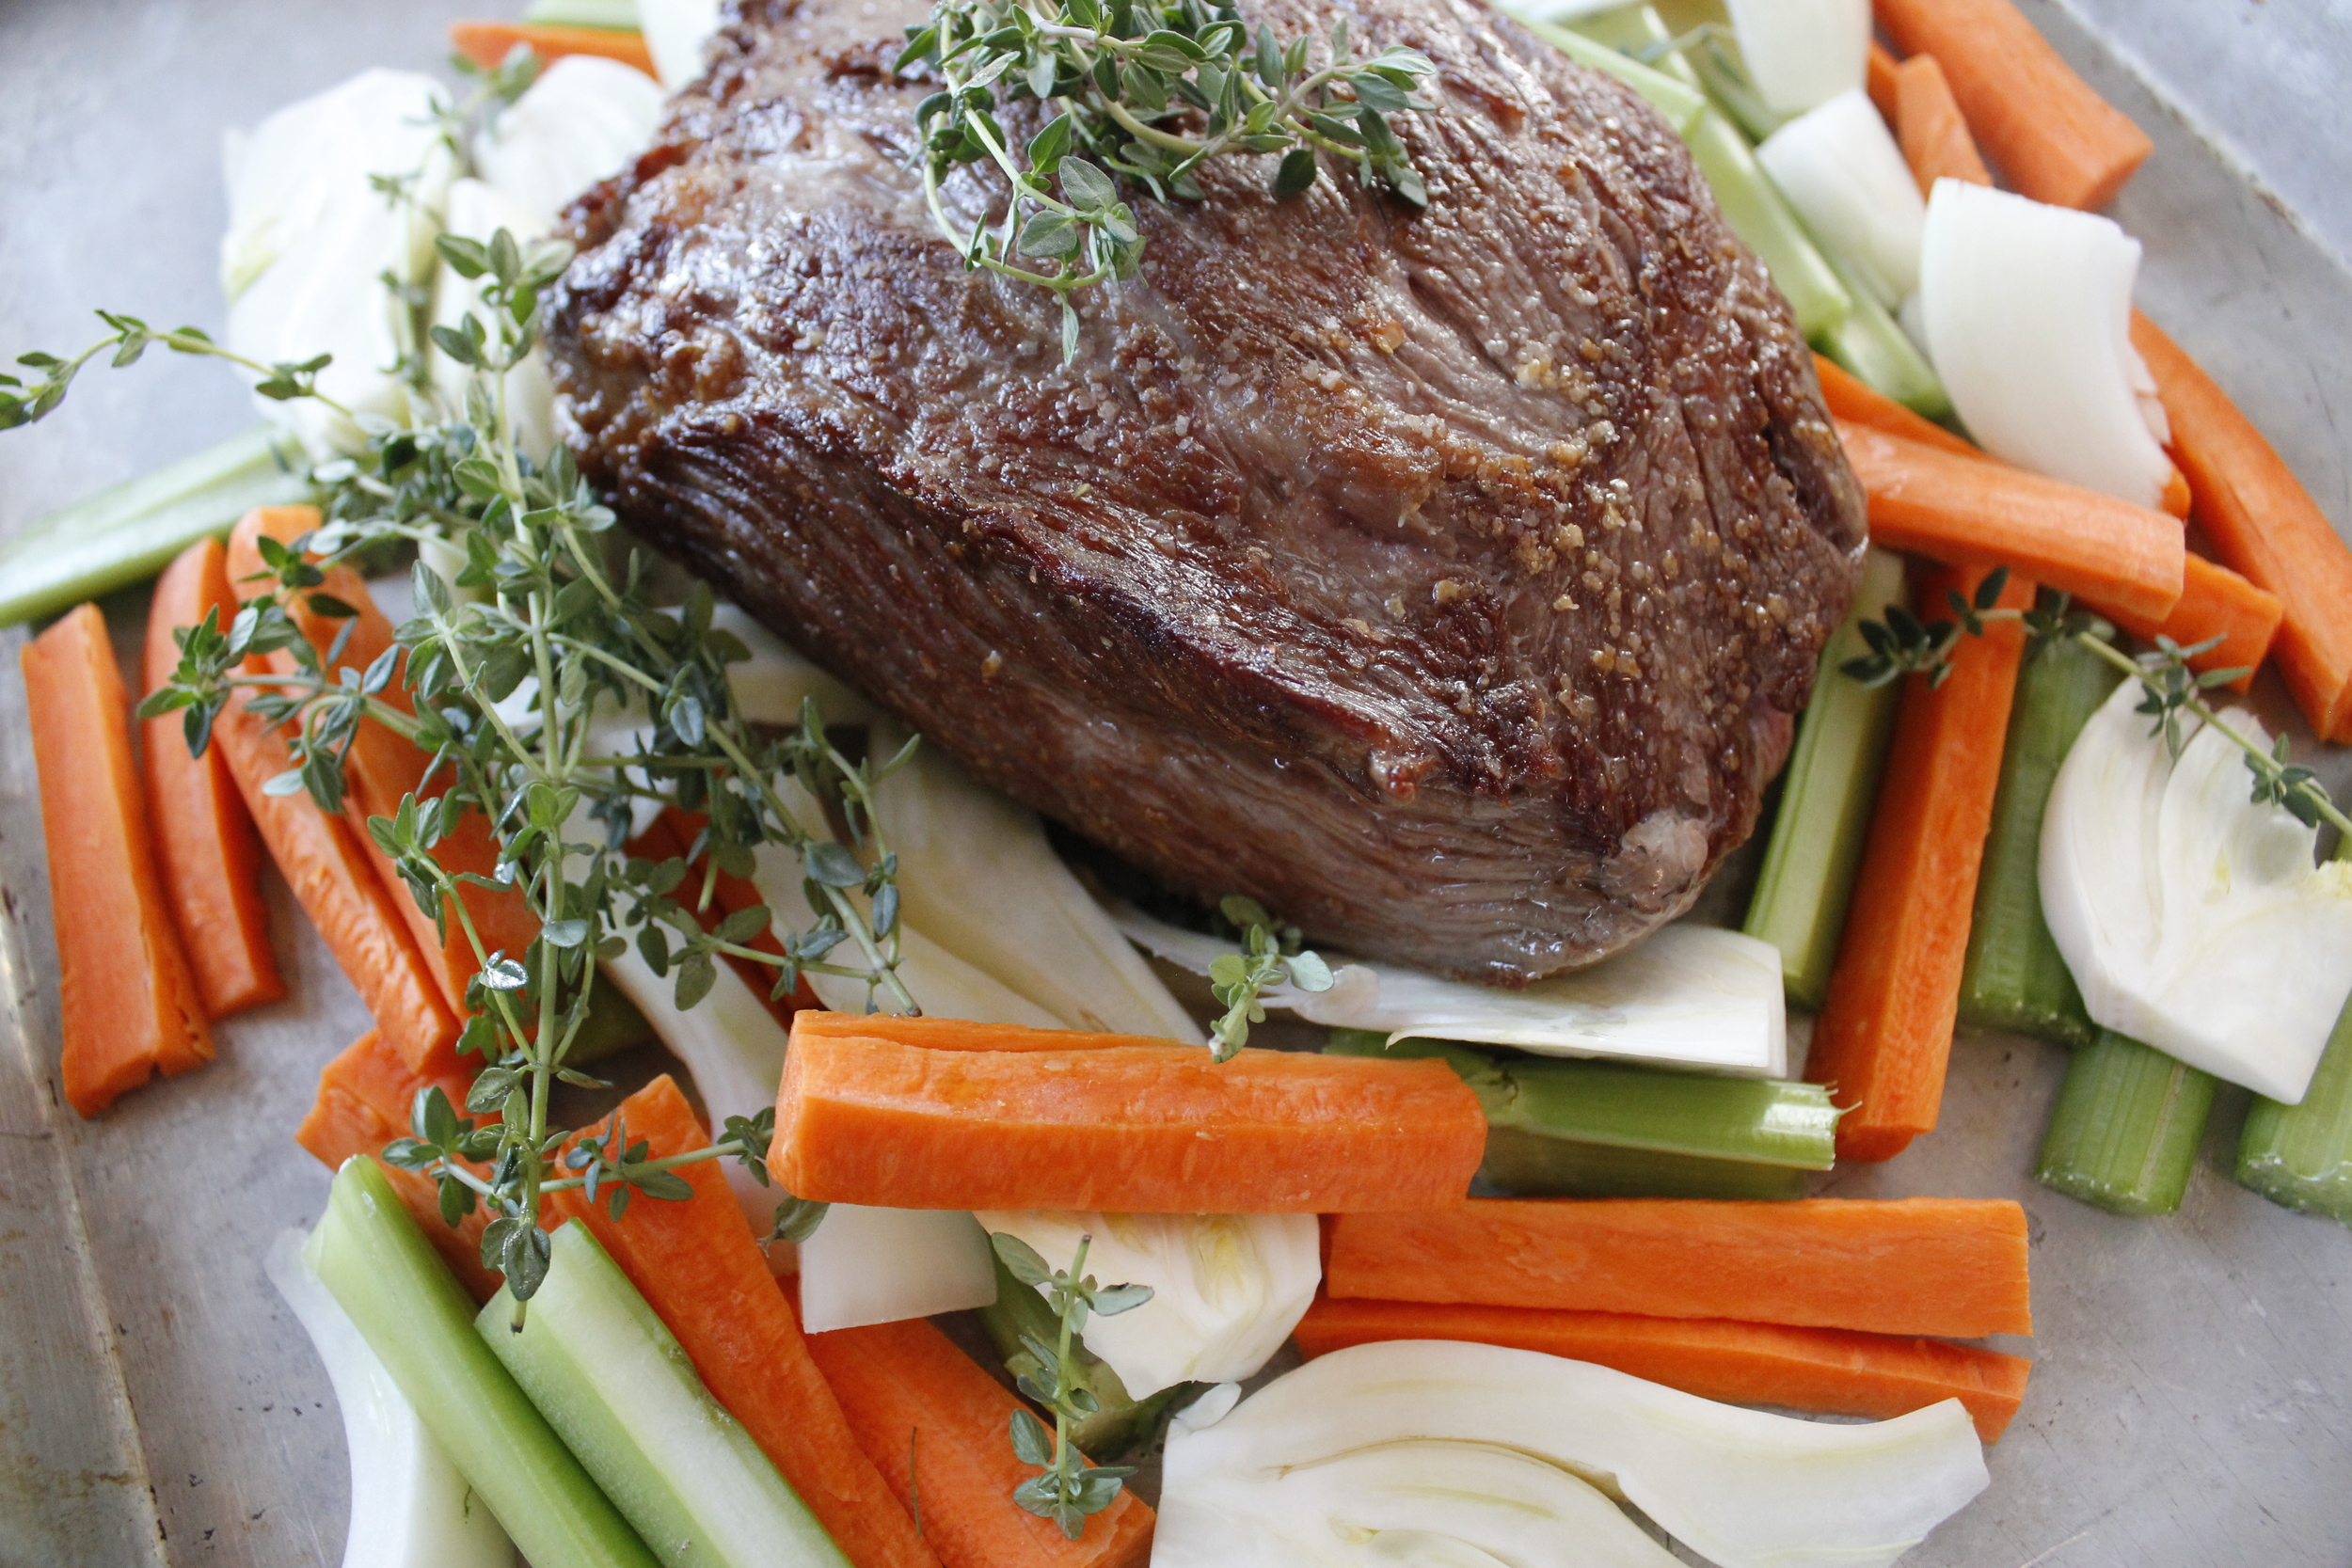
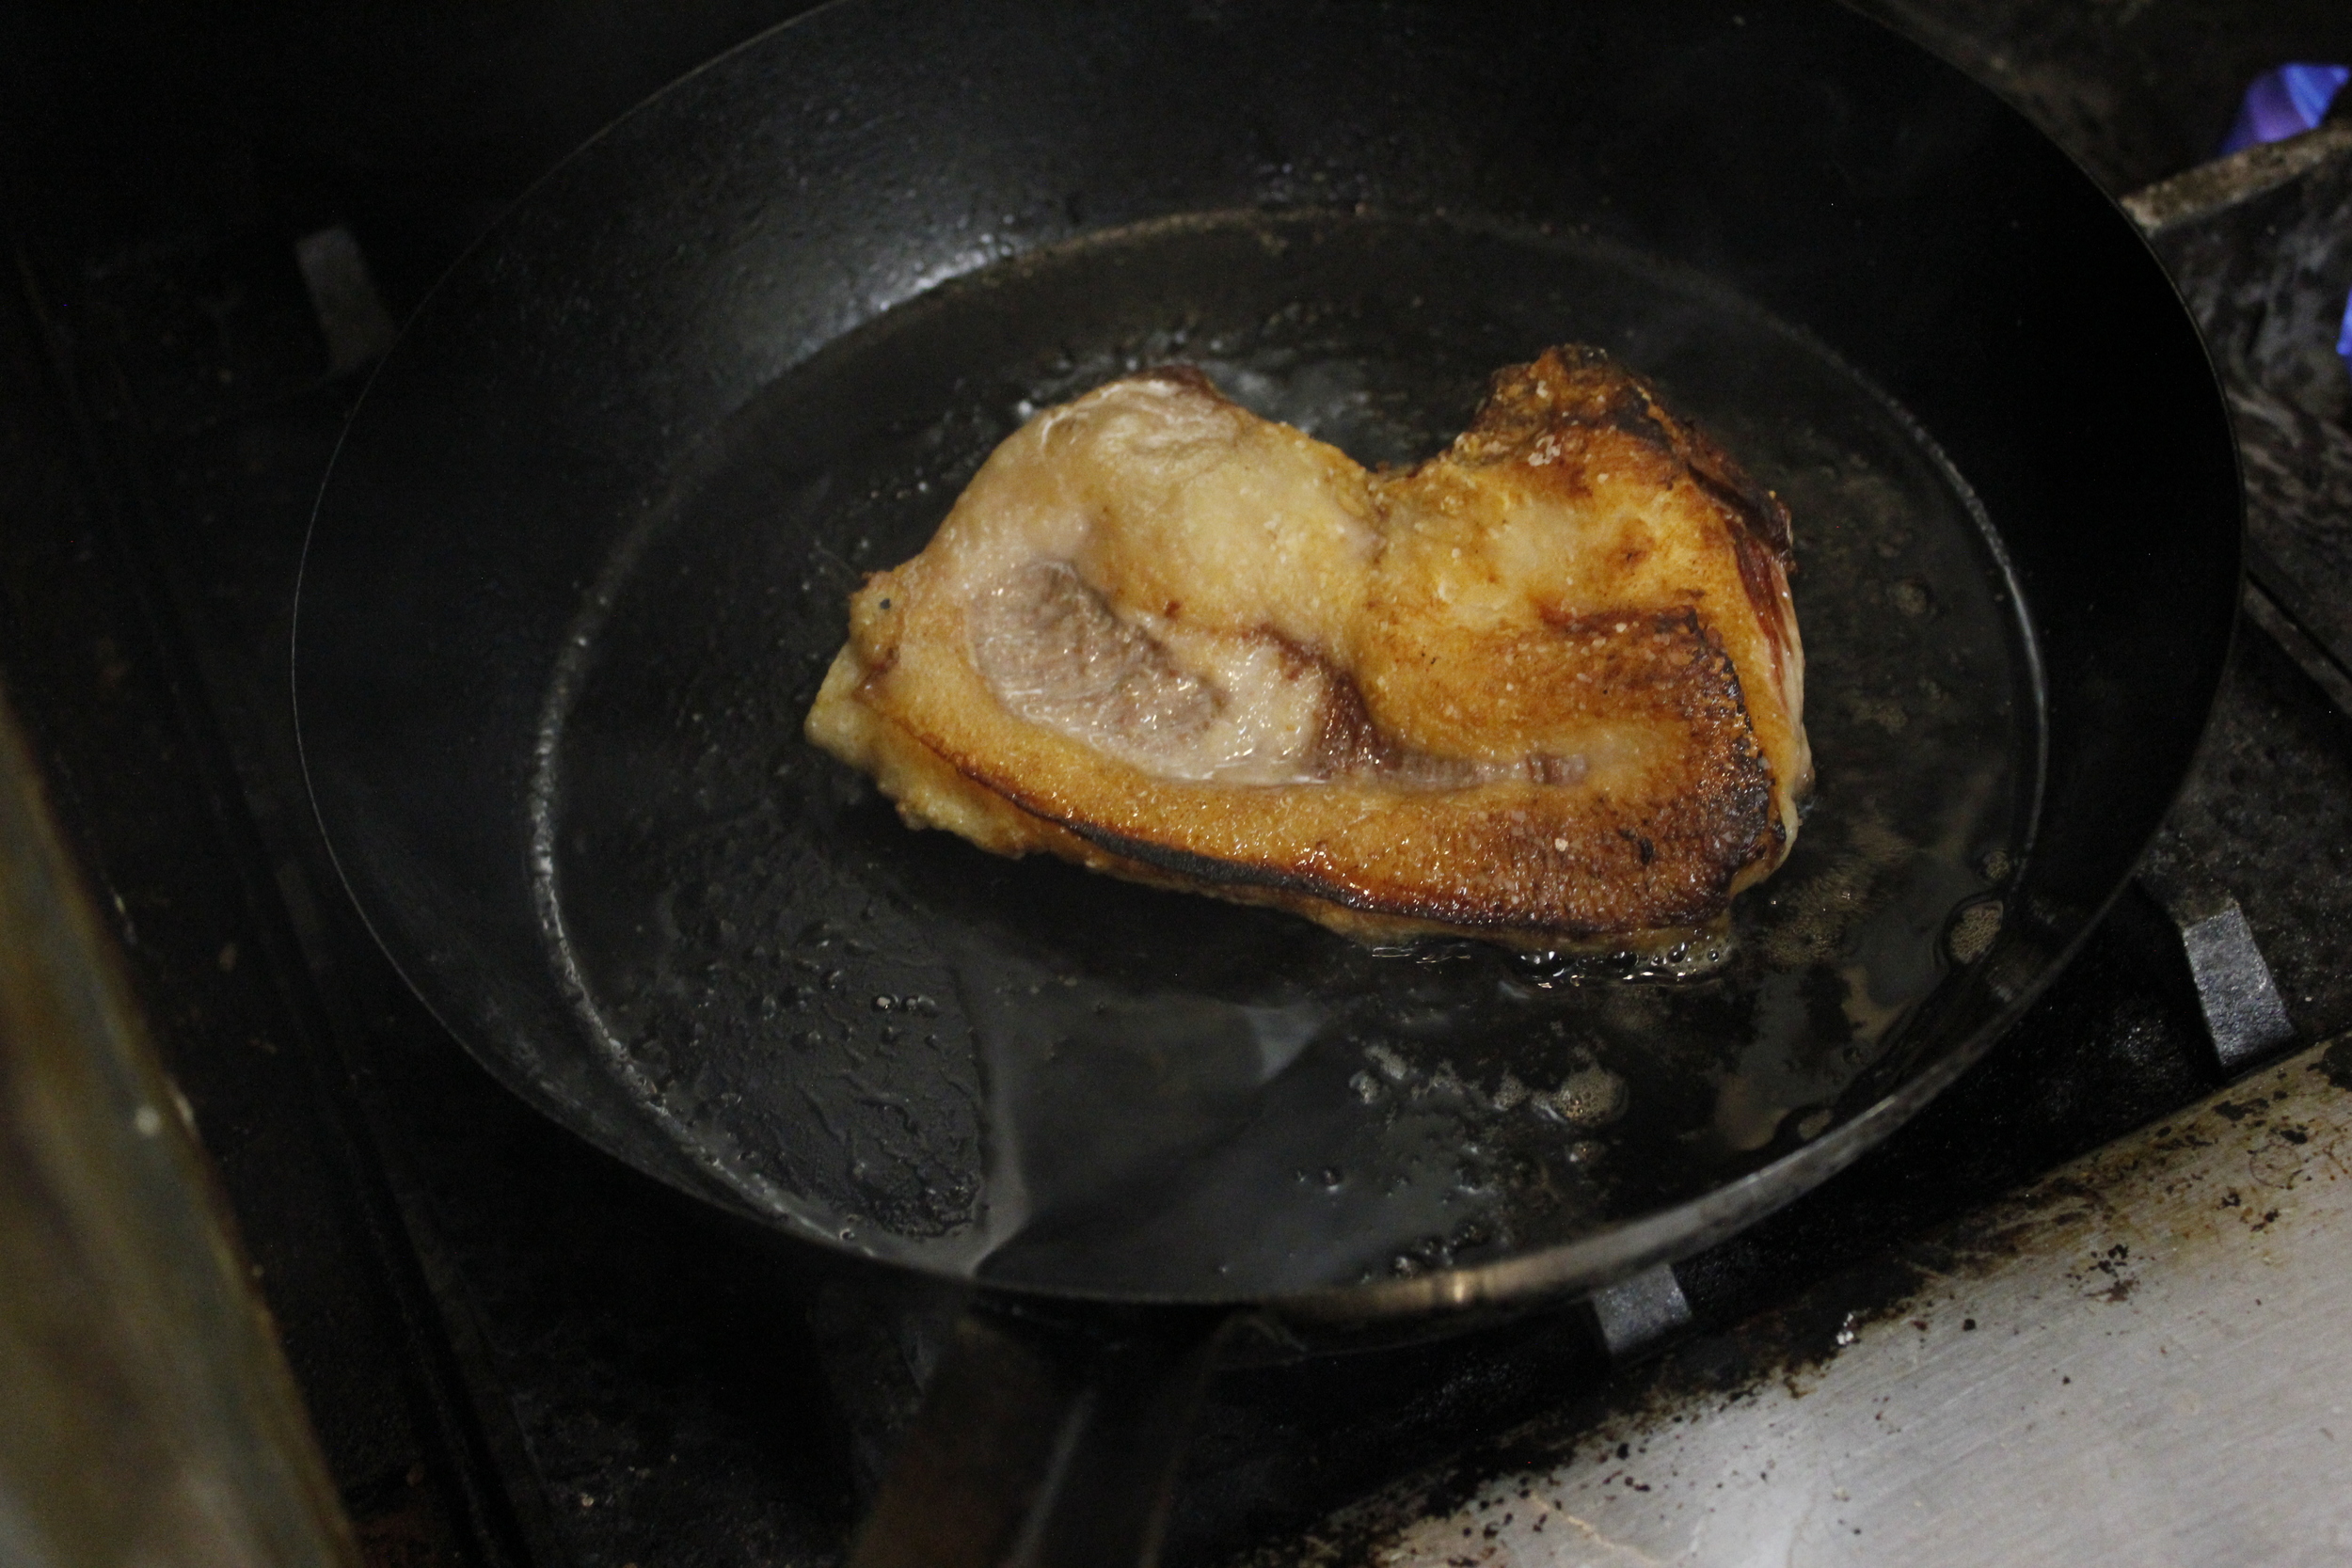
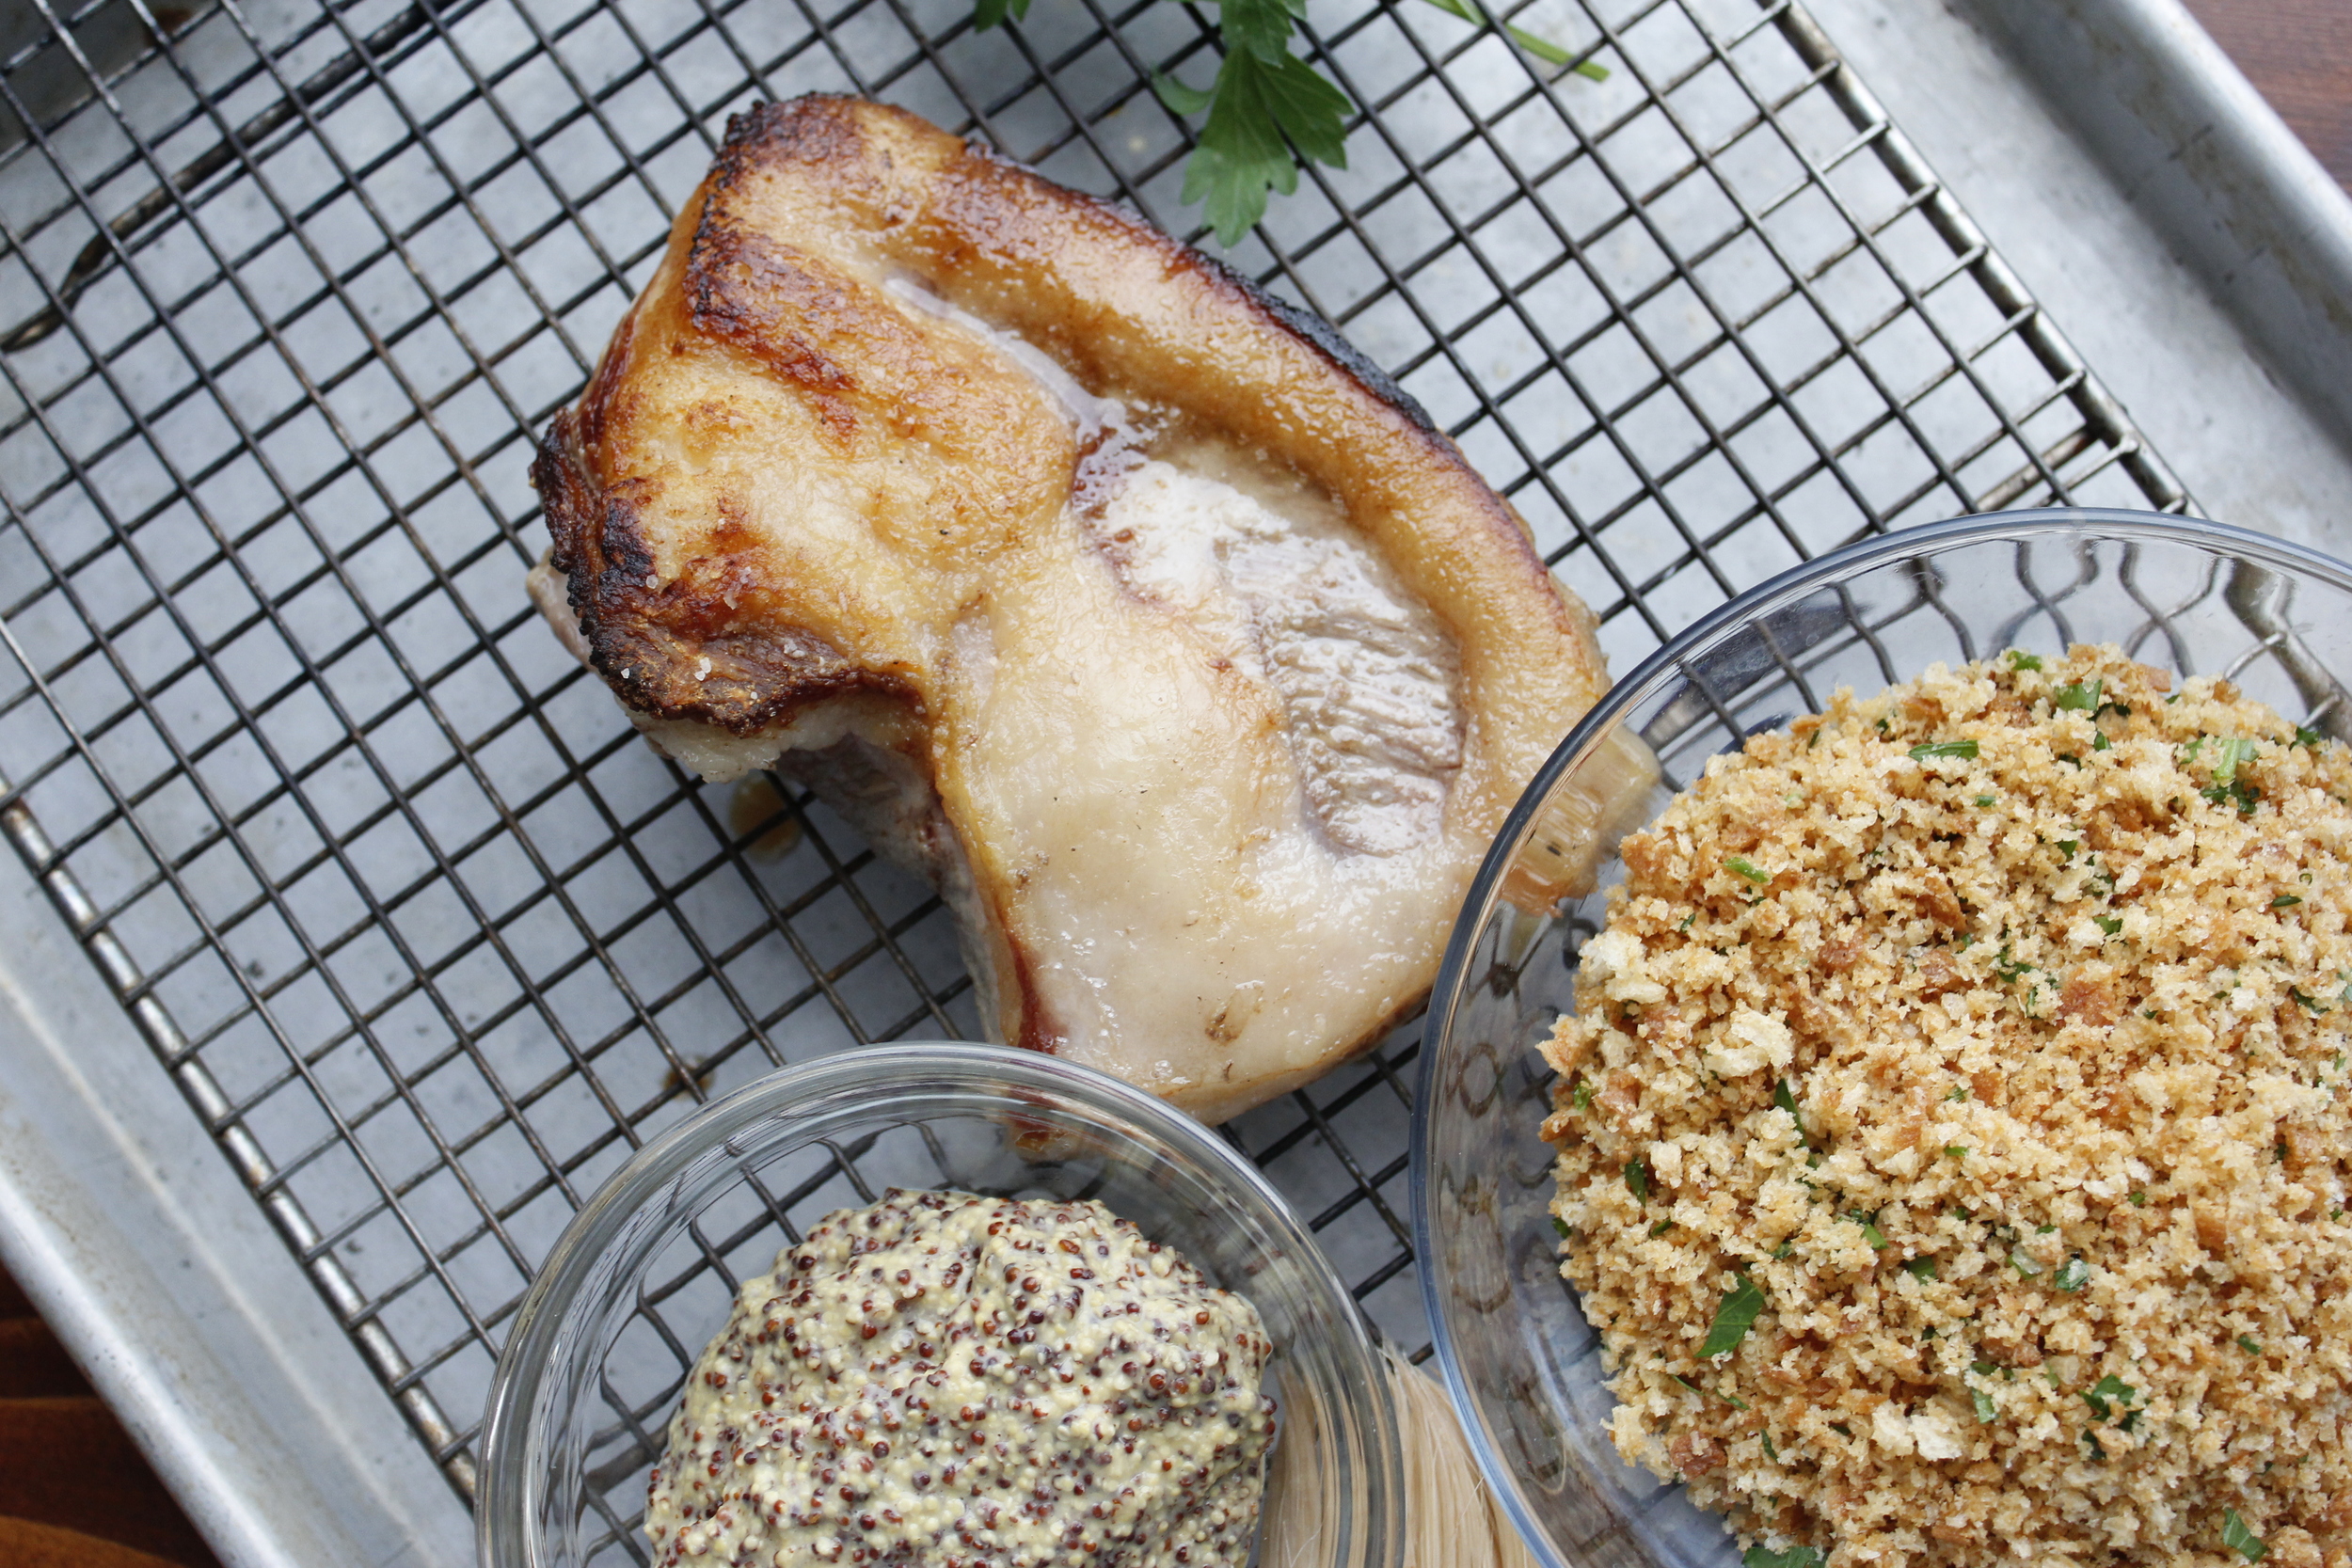
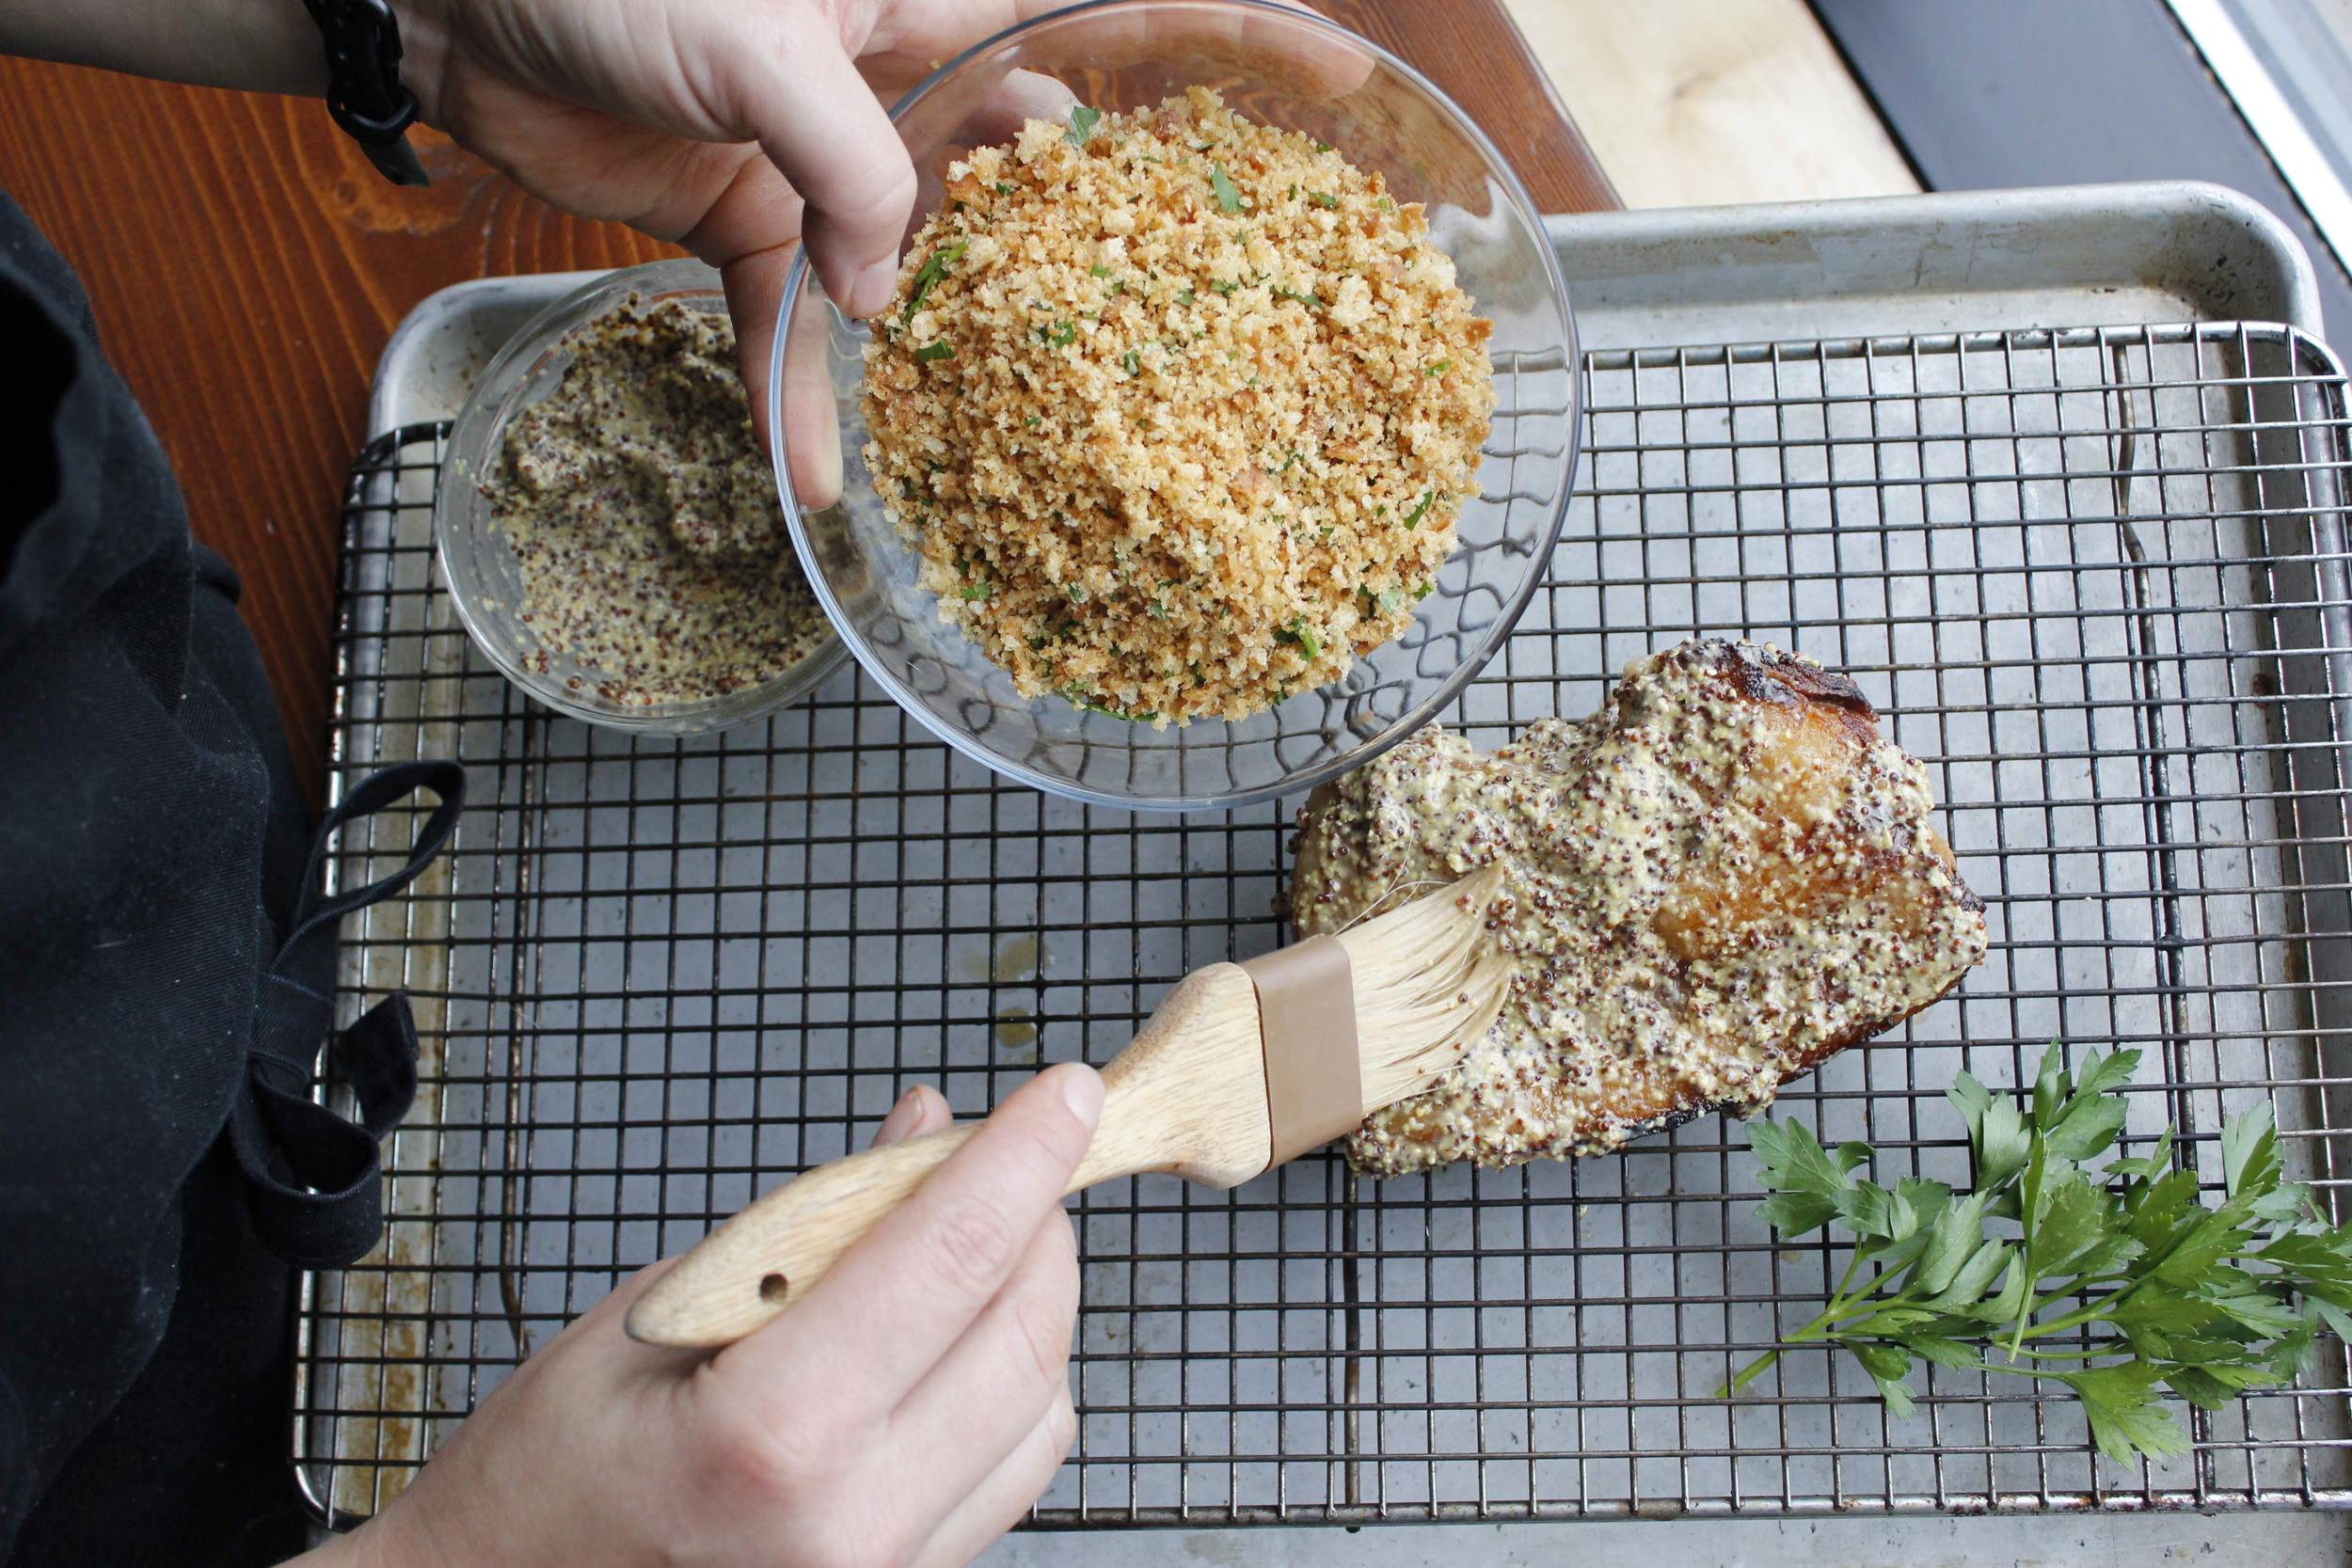
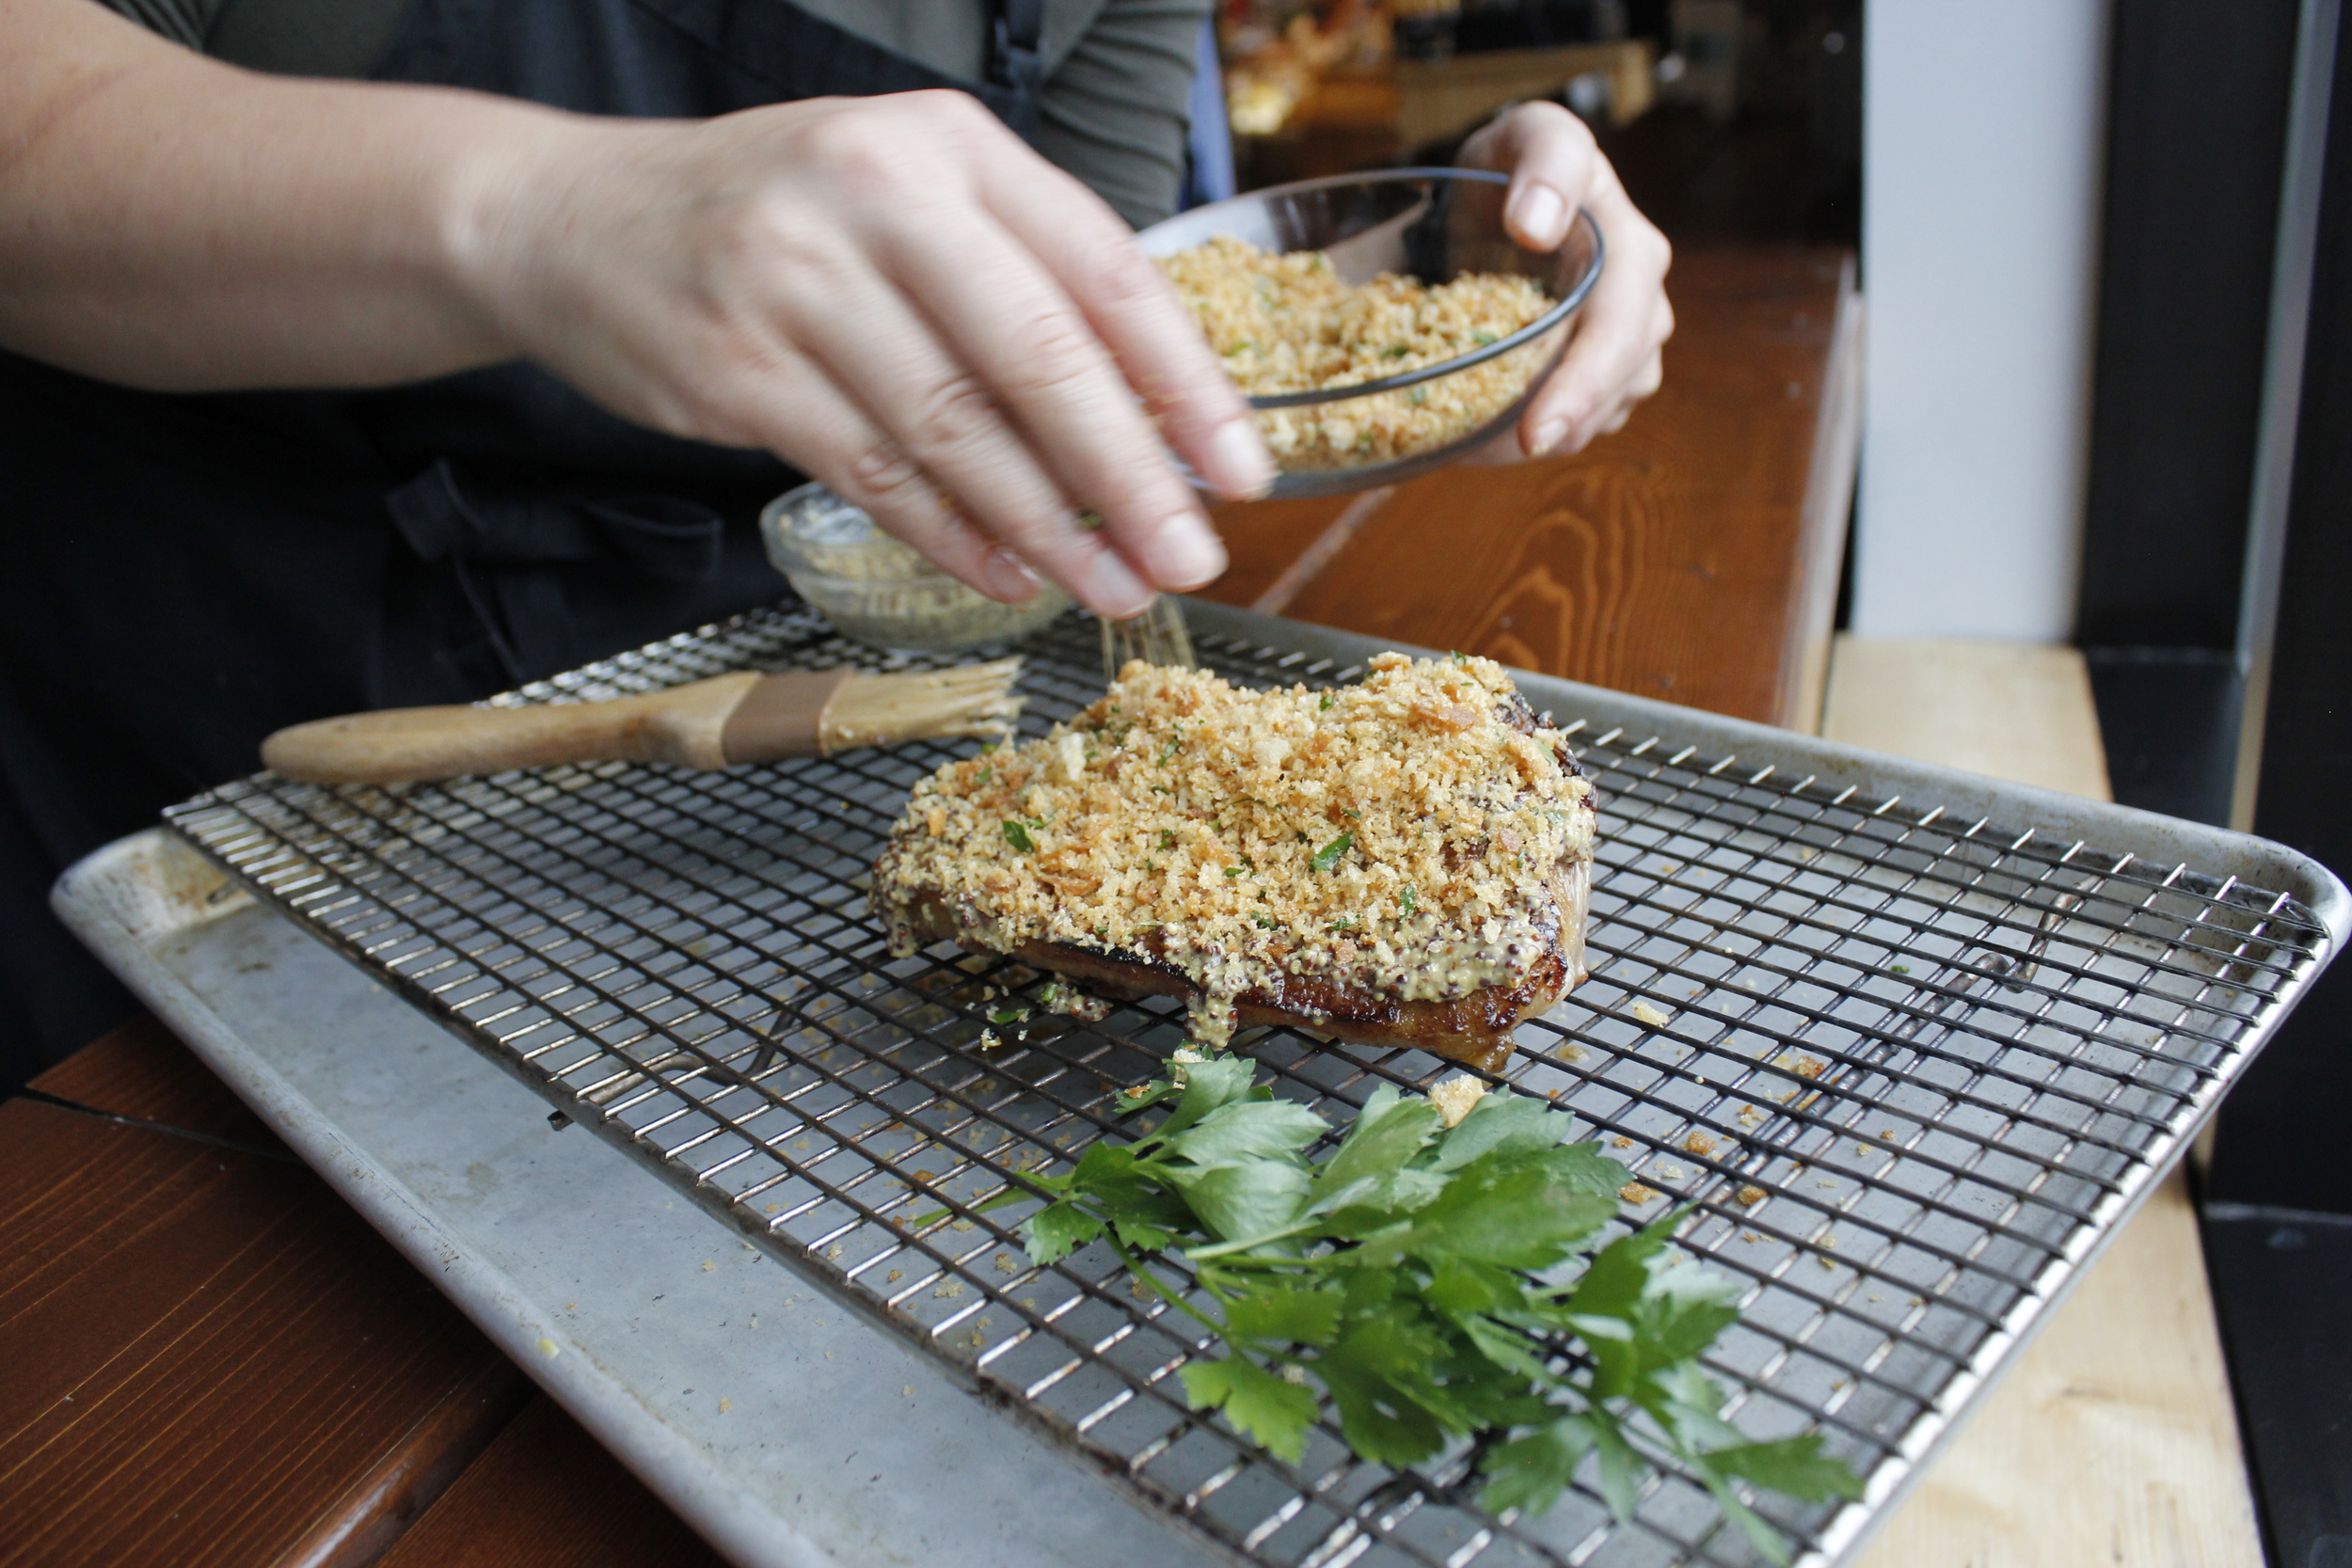
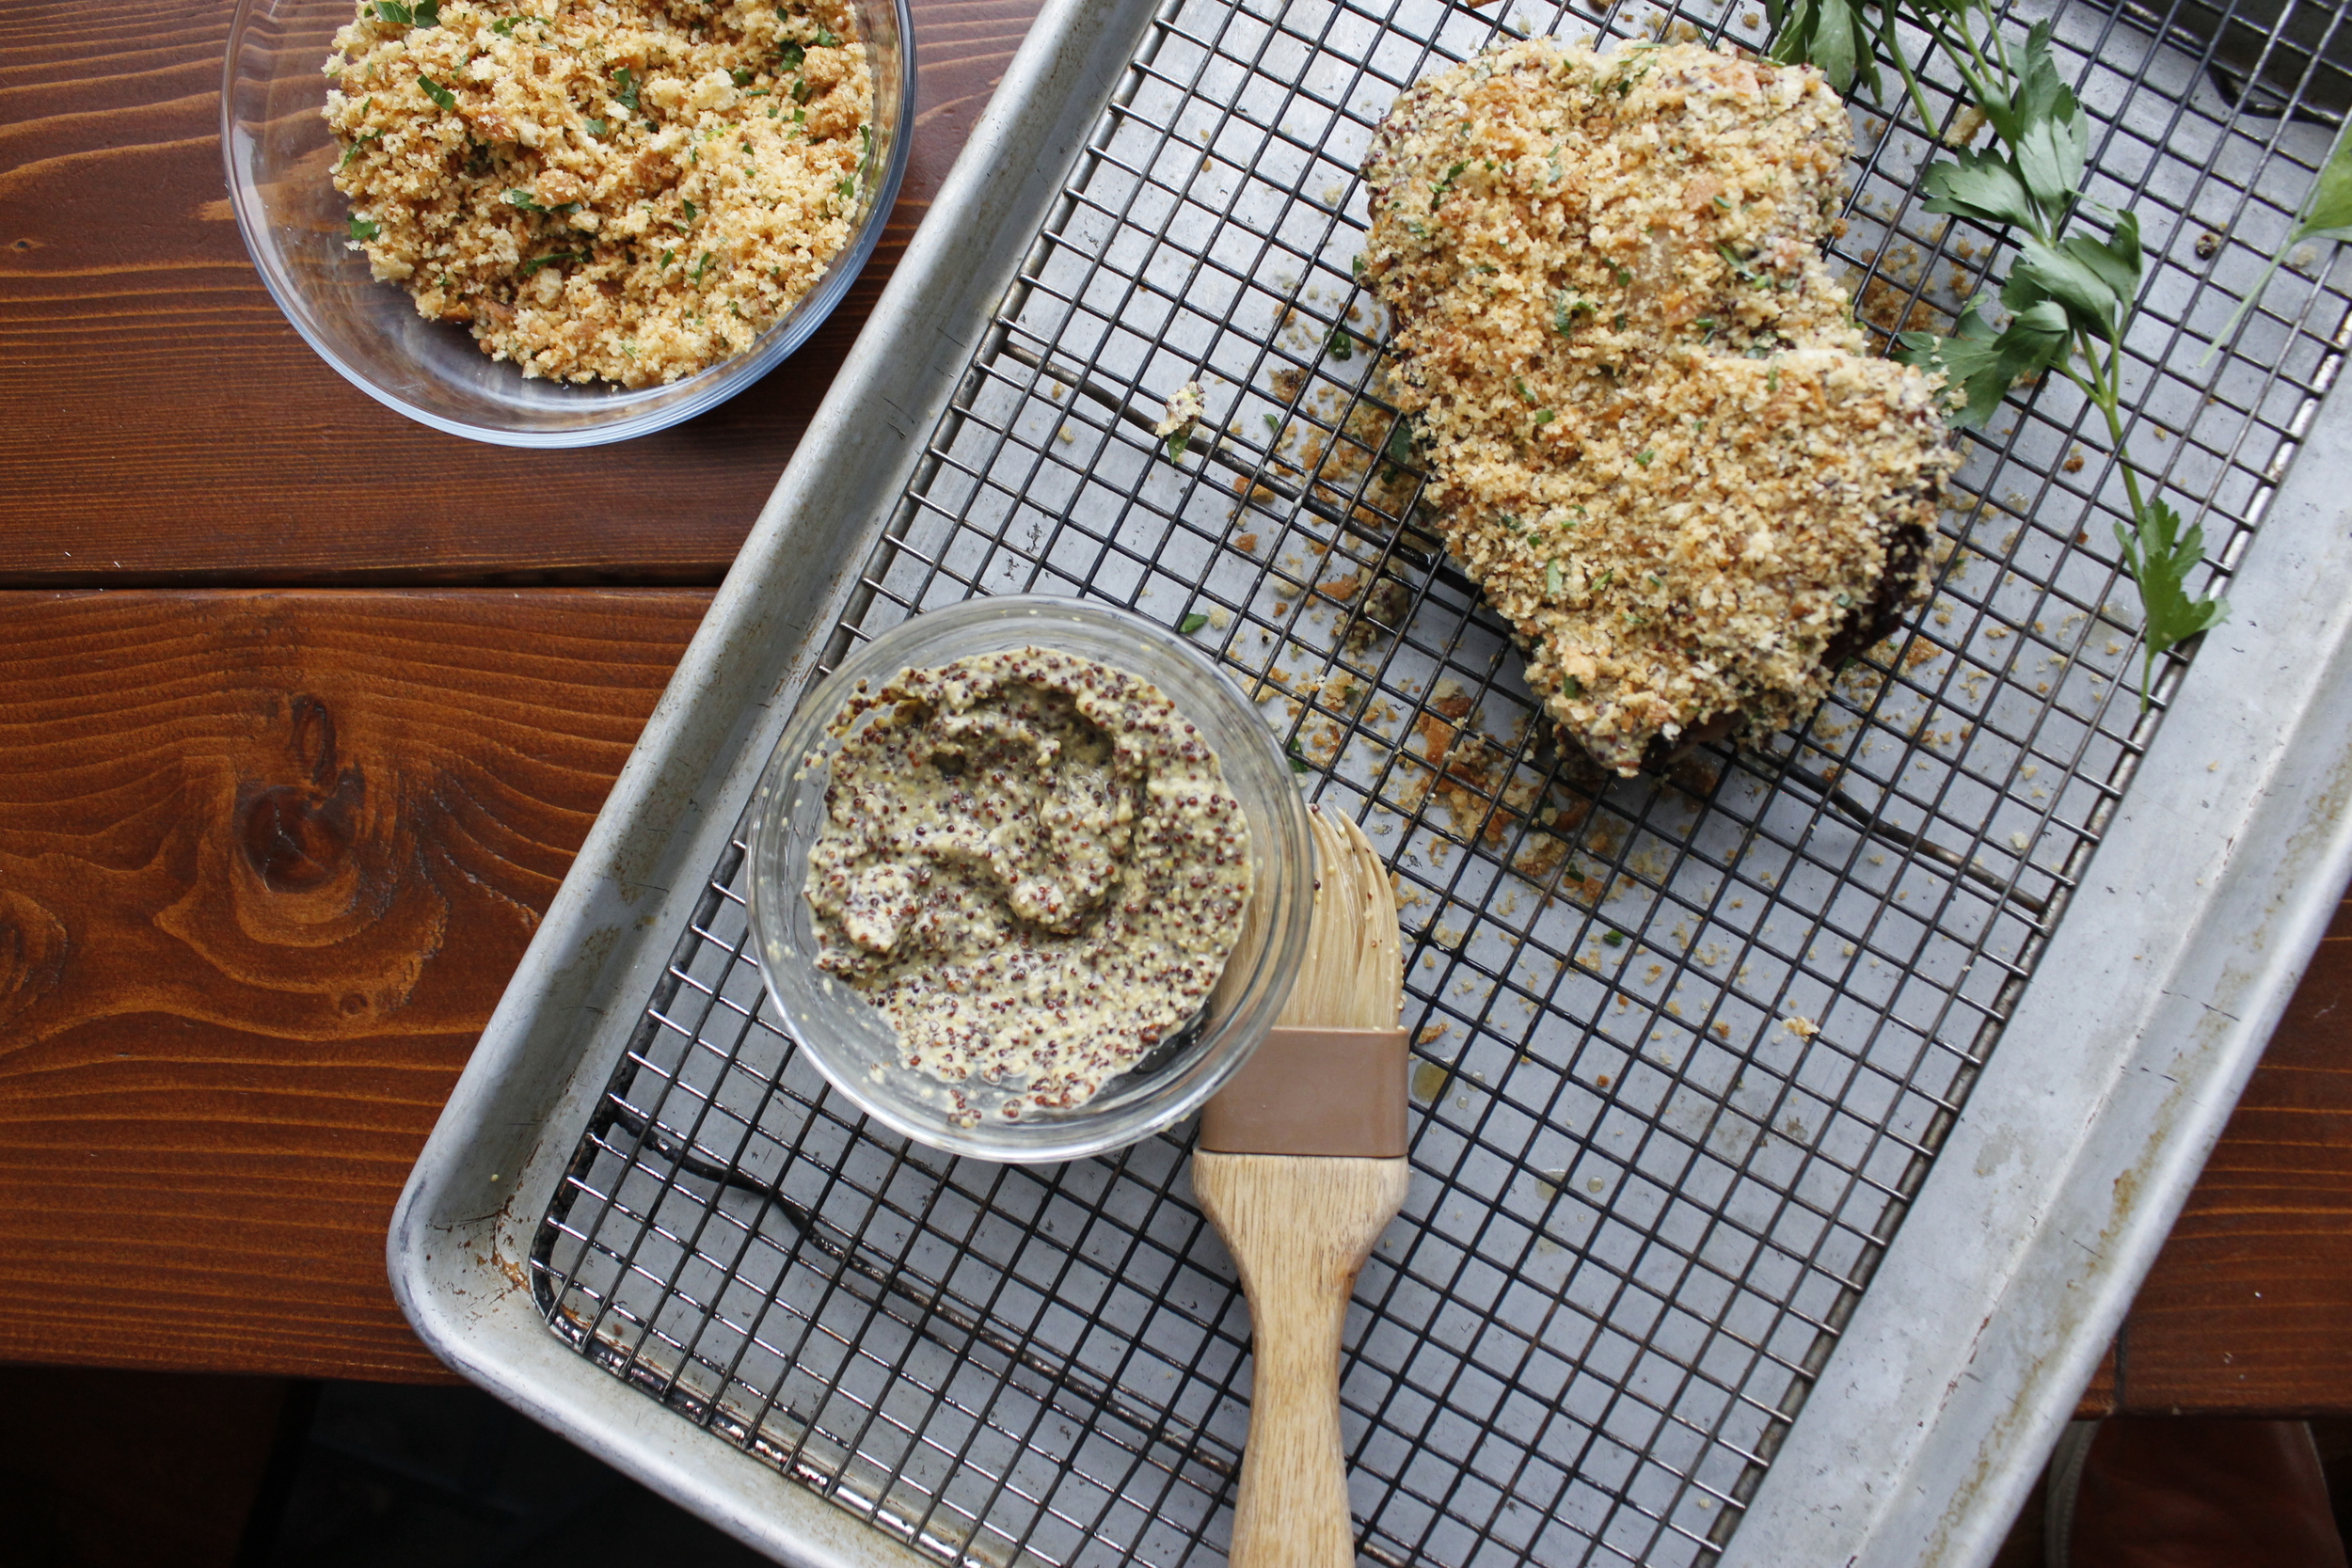
The first thing he told me was to dispense with the brining and the breading—the types of pork chops that we carry need neither. Prepare it simply: salt, pepper, and cook it to medium (about 140 for pork). Cook it in a cast iron pan, so all that fat can sear the meat and caramelize. If it’s a thinner chop—3/4 of an inch or less—you can flip it back and forth on the pan for about ten minutes, and let it rest on a dinner plate for ten minutes before cutting into it. If it’s a thicker chop—an inch or more—an oven finish is not a bad idea. Sear it on the pan for about four minutes on each side, and finish it in the oven for another four minutes if it’s closer to an inch, ten minutes if it’s closer to two. What’s nice about finishing a chop in the oven is that you can apply a glaze—like our American Spoon Apple Cider Grilling Sauce—right before you pop it in.

It feels more and more rare to encounter food that tastes qualitatively different than what I would expect, but our pork has really blown my mind. What follows is my simple recipe for a perfect pork chop—I hope you enjoy it!


Perfect Red Wattle Pork Chop

This recipe prescribes an oven finish for a pork chop about an inch and a quarter thick—about our standard size.

1). Salt your meat—I like Maldon flakes, but any kosher salt will do. You can salt your meat from an hour to a day ahead of time, or right before you’re about to cook it. Avoid cooking meat that’s been salted for less than an hour but more than ten minutes ahead of time—the salt pulls moisture out of the meat, before the moisture reabsorbs in more flavorful form.

2). Preheat your oven to 350.

3). Warm up your cast iron pan, or other heavy bottomed pan, on the stove to a high temperature. Use only a little oil to get things started—our pork chops are going to cook gloriously in their own fat. When a drop of water pools on the fat in the pan before steaming away, it means the pan is hot enough. If a drop of water sizzles away immediately, your pan still needs to get hotter. A little smoke is okay.

4). Sear your meat on the pan—you’re looking for about four minutes on each side, but you can flip the chop as often as you like. Eight minutes of pan time should do you well. You can use a couple of those minutes to grab the chop with some tongs and sear the fatcap—it shouldn’t take long.

5). Put the chop in the oven. For a chop that’s an inch and a quarter thick, 4 minutes is all you need. For a thicker chop, 6-8 minutes will be what’s required. Pull your chop out when the internal temperature registers 130 degrees.

6). Let your pork chop rest 10 minutes before serving. The carryover cooking will raise the internal temperature another 10 degrees, to about 140—a perfect medium for pork, just slightly rare. 


Recipe #3: Braised Lamb Neck Osso Bucco

Cook Method: Braise
Cook Time: 4 hours

Ingredients:
     1 lamb neck or osso bucco
     1 T cooking oil
     2 T ground cumin
     2 T ground coriander
     2 T salt
     1” ginger, grated
     1 onion thinly sliced
     1/2 cup white wine
     1 C canned tomatoes
     1 qt beef stock
     1 T tomato paste
     1 T honey   
     2 T harrissa
     1/2 lemon juice & zest
     2 C Jalama Valley Butter
     Beans or canned white
     beans

If using Jalama Valley beans, soak 1 cup (dry)
overnight. Rinse and simmer in 3 cups beef stock for
45 min – 1 hr on low heat until tender.

Mix spices  and salt together and use half to season
lamb.

Heat heavy-bottomed or cast iron saute pan over
medium-high heat. Add oil and sear lamb until
deeply browned on both sides.

Remove meat and sweat onions and ginger with oil in
saute pan until soft and just starting to brown.
Transfer meat and onions to braising dish or slow-
cooker, and add remaining cup of stock to saute pan
and scrape browned bits off pan.

Add pan jus and remaining ingredients to braising
vessel. Cover and cook over medium heat (350 degrees)
for 3 hours or until meat is tender and pulls easily
away from the bone. Adjust salt in sauce to taste.

Recipe #2: Braised Beef Shortrib

Cook Method: Braise
Cook Time: 4 hours

Ingredients:
     1.5 lb boneless shortrib
     2 T vegetable oil
     1 white onion
     1 carrot
     2 stalks celery
     1 bulb fennel
     3 sprigs thyme
     1 Qt beef stock
     1 bottle red wine


Preheat oven to 350°. 

Salt and pepper short ribs. Heat a heavy-bottomed
Dutch oven over medium heat. Add oil, let heat for
1 minute, then add short ribs and sear 2-3 minutes
on all sides.

Add vegetables and liquid, scraping up browned bits
from the bottom of the pan. Bring to a simmer.

Cover and cook in oven for 3-4 hours, until a fork can
penetrate the meat easily.

Remove shortribs and strain vegetables from sauce.
Adjust sauce for seasoning and thicken by simmering,
uncovered, if necessary.

Recipe #1: Mustard-Crusted Lamb Brisket

We will be using this blog as a place to share all our ideas for using the meats you take home from our shop! 

Cook Method: Roast
Cook Time: 1.5 hours

Ingredients:
    1 lamb brisket
    4 T salt
    3 T canola oil
    4 T mustard
    1/2 cup crushed
    croutons


Salt the lamb the night before, or six hours
before cooking.

Preheat oven to 350°. Heat cast iron, carbon steel, or
other high-heat sauté pan over medium-high heat 2
minutes. Add canola oil, heat additional 30 seconds.

Sear lamb brisket on all surfaces by turning
every 3 minutes or so with a tongs. Meat
should develop a deep caramel color and crust.

Remove pan from heat and brush lamb with mustard.
Coat with crushed croutons on all sides.

Place pan in oven and cook 45-60 minutes. Check for
tenderness; if the back of a wooden spoon easily
penetrates, the lamb is cooked!